




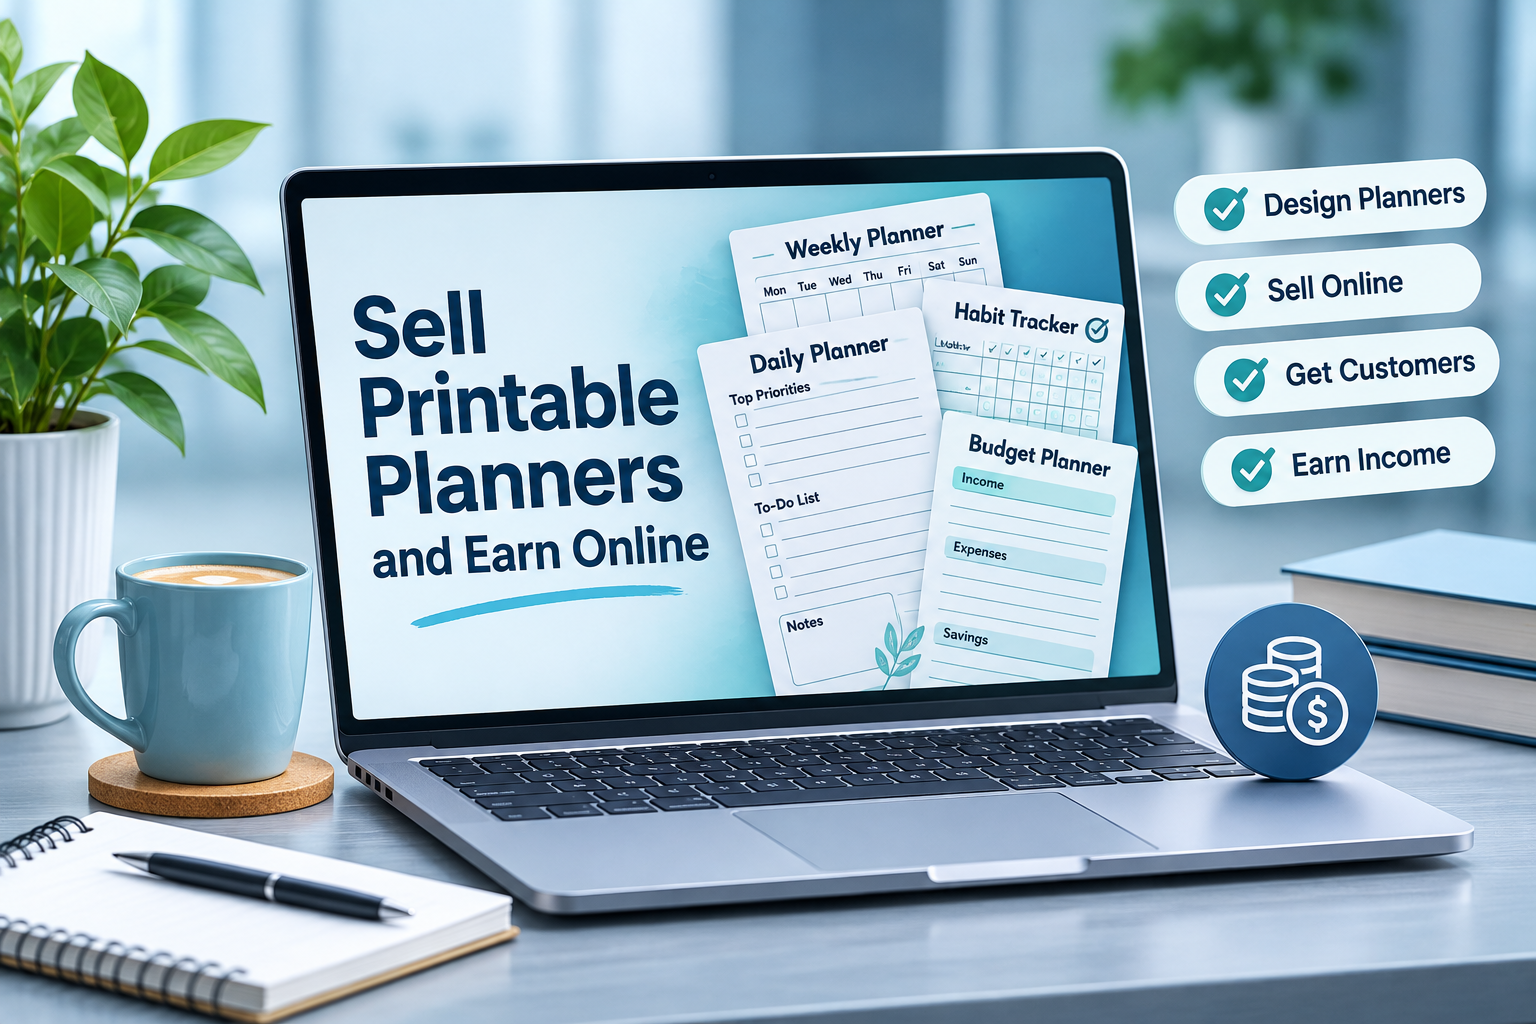
Have you ever thought about turning your creative ideas into a source of online income? Selling printable planners is one way to start a small digital product business without managing physical stock, packaging, or shipping.
Printable planners are digital files that customers purchase, download, and print at home or use on a tablet. They can help people organise their daily tasks, manage budgets, plan meals, track habits, and achieve personal goals.
The best part is that you can create these products using beginner-friendly design tools and sell them through online marketplaces or your own website. You do not need a large investment to get started, although you will need time to create useful designs and promote them.
In this guide, you will learn how to sell printable planners online, choose the right products, create attractive designs, and build a digital product business step by step.
What Are Printable Planners?
Printable planners are digital documents designed to help people organise different parts of their lives. They are usually available as PDF files that customers can download after purchasing.
Unlike traditional planners, printable planners do not need to be manufactured or delivered physically. Customers can print as many personal copies as their licence allows.
Some common examples include:
- Daily and weekly planners
- Monthly calendars
- Budget and expense trackers
- Meal planning sheets
- Fitness and workout planners
- Student study planners
- Wedding planning templates
- Habit trackers
- Goal-setting worksheets
- Business and project planners
You can create a single-page planner or combine several pages into a complete planner bundle.
Why Should You Sell Printable Planners Online?
Printable planners can be a practical starting point for people interested in digital products. Here are some reasons why this business model attracts creators.
1. Low Startup Cost
You can begin with a computer, an internet connection, and a design tool. Many design platforms offer free plans that are sufficient for creating basic planner layouts.
You may also need to pay marketplace listing fees, transaction fees, or other platform charges, depending on where you sell.
2. No Physical Inventory
You do not need to purchase paper, maintain stock, or arrange packaging. Your product is delivered digitally, which makes the process easier to manage.
3. Sell the Same Product Multiple Times
Once you create a printable planner, you can offer the same digital file to multiple customers. You do not need to design a new copy for every order.
However, sales are not automatic. You still need to attract customers, provide good product descriptions, and keep your products useful and relevant.
4. Work From Anywhere
You can manage your digital product store from home or while travelling. Most of the work involves designing, updating listings, answering customer questions, and promoting your products.
Step 1: Choose a Profitable Printable Planner Niche
Before opening a store, decide what type of planners you want to create. Trying to design everything at once can make your store look unfocused.
Start with a specific audience or problem. Think about what people need help organising in their everyday lives.
Here are some planner niches worth exploring:
Budget and Finance Planners: Monthly budget sheets, savings trackers, debt repayment planners, and expense logs.
Student Planners: Assignment trackers, exam schedules, revision planners, and class timetables.
Fitness Planners: Workout logs, water intake trackers, meal plans, and fitness goal sheets.
Business Planners: Content calendars, social media planners, project trackers, and business expense sheets.
Lifestyle Planners: Daily routines, habit trackers, cleaning schedules, and weekly to-do lists.
Wedding Planners: Guest lists, vendor contact sheets, wedding budgets, and event timelines.
Before choosing a niche, research what customers are searching for. Look at marketplace listings, customer reviews, social media discussions, and search suggestions.
Pay attention to repeated customer complaints. For example, buyers may want a budget planner with more writing space or a student planner that includes both weekly and monthly views. These details can help you develop a more useful product.
Step 2: Research Your Target Customers
A planner should solve a specific problem. Understanding your target customer will help you decide what pages, features, and layouts to include.
Ask yourself:
- Who will use this planner?
- What problem are they trying to solve?
- Will they print it on A4, US Letter, or another paper size?
- Do they prefer simple layouts or decorative designs?
- Do they need a single-page tracker or a complete planner?
- Will they use it at home, school, or work?
For example, a student planner may need an assignment tracker, exam timetable, weekly study schedule, and notes section.
A budget planner may need income tracking, expense categories, savings goals, and monthly summaries.
The more clearly you understand your audience, the easier it becomes to create a product people actually want to use.
Step 3: Create Your Printable Planner
You do not need advanced graphic design skills to create your first printable planner. Several tools offer ready-made layouts and design features.
Here are some options:
Canva
Canva is a beginner-friendly design platform with templates, shapes, fonts, tables, and other design elements. You can use it to create daily planners, calendars, trackers, and planner bundles.
Website: https://www.canva.com/
Adobe Illustrator
Adobe Illustrator is useful for creating custom layouts and more detailed planner designs. It gives you greater control over typography, spacing, shapes, and vector elements.
Website: https://www.adobe.com/products/illustrator.html
Google Sheets
Google Sheets works well for planners that involve calculations, such as expense trackers, savings planners, and budget sheets. You can create a spreadsheet-based product or prepare a print-friendly version.
Website: https://sheets.google.com/
Microsoft Excel
Excel is another option for creating budget planners, business trackers, and financial worksheets. It is particularly useful when your product needs formulas or automatic calculations.
Website: https://www.microsoft.com/microsoft-365/excel
Choose a tool that matches your product. You do not need to learn every platform before launching your first planner.
Step 4: Make Your Planner Easy to Use
A beautiful planner may attract attention, but its usefulness is what makes customers value it.
Follow these design tips:
- Use readable fonts and clear headings.
- Leave enough blank space for writing.
- Keep the layout organised and consistent.
- Use light backgrounds for printer-friendly pages.
- Avoid too many decorative elements.
- Include clear labels and instructions where necessary.
- Check that lines, boxes, and text are properly aligned.
- Test the PDF by printing it before selling.
Offer common paper sizes such as A4 and US Letter when suitable for your target audience. Make sure your product description clearly states which sizes are included.
You can also provide different colour options, such as a colourful version and a black-and-white version.
Step 5: Export Your Planner in the Right Format
Most printable planners are sold as PDF files because PDF helps preserve the original layout across different devices.
Before exporting, check:
- Page dimensions and orientation.
- Text readability.
- Margins and print boundaries.
- Image and graphic quality.
- Page order.
- Whether the file opens correctly.
If you are selling a planner bundle, organise the pages properly and give the files clear names.
For example:
- Daily-Planner-A4.pdf
- Weekly-Planner-US-Letter.pdf
- Monthly-Budget-Tracker.pdf
You can also include a short instruction PDF explaining how customers can download and print the files.
Step 6: Choose Where to Sell Your Printable Planners
Once your product is ready, you need a platform where customers can discover and purchase it.
Here are some popular options:
Etsy
Etsy is a marketplace where independent sellers offer handmade and digital products. Printable planners are one type of digital product you can list.
You can create product listings with images, descriptions, pricing, and downloadable files.
Website: https://www.etsy.com/
Before opening a shop, review Etsy’s current seller eligibility, fees, digital product rules, and payment availability for your country.
Gumroad
Gumroad allows creators to sell digital products through product pages and shareable links. It can be useful if you want to sell planners directly to an audience you build.
Website: https://gumroad.com/
Check its current fees and payout availability before choosing it.
Payhip
Payhip provides tools for selling digital downloads through an online storefront. You can upload your planner files, set prices, and share your store link.
Website: https://payhip.com/
Review its current pricing, payment options, and supported countries.
Your Own Website
You can also sell printable planners through your own website. This gives you greater control over your branding, product pages, and customer experience.
For example, a WordPress website with a suitable digital product or e-commerce plugin can help you manage your online store.
The right platform depends on your target audience, location, budget, and preferred selling method.
Step 7: Create Attractive Product Listings
Customers cannot physically touch or examine a printable planner before purchasing it. Your product listing must clearly show what they will receive.
Use attractive preview images that display the actual pages included in the product.
A strong listing should include:
Product Title: Use clear keywords that describe the planner and its purpose.
Product Images: Show the cover, individual pages, and examples of how the planner can be used.
Product Description: Explain the features, page count, paper sizes, file format, and included variations.
Digital Download Information: Clearly mention that the customer is purchasing a digital file, not a physical planner.
Printing Instructions: Explain how to download and print the files.
For example, instead of using a title like “Beautiful Planner,” try something more descriptive:
“Printable Weekly Planner PDF | Minimalist To-Do List and Daily Schedule | A4 and US Letter”
A descriptive title helps customers understand the product and can make your listing easier to discover through relevant searches.
Step 8: Set the Right Price
Pricing your printable planner requires some research. Look at similar products in your niche and compare their page count, design quality, features, and customer reviews.
You can start with a simple pricing structure:
- Single-page printable: $1–$3
- Small planner bundle: $3–$7
- Detailed planner set: $7–$15
- Specialised planner bundle: $15 or more
These are illustrative starting ranges, not guaranteed market prices. Your actual pricing should reflect the product’s quality, competition, audience, and platform fees.
You can also offer bundles to increase the value of a purchase.
For example, instead of selling a weekly planner, monthly calendar, and habit tracker separately, combine them into one organised productivity bundle.
Step 9: Promote Your Printable Planners
Creating a good product is only one part of running a digital product business. You also need to bring potential customers to your store.
Here are some ways to promote your planners.
Pinterest Marketing
Pinterest is useful for sharing visual content and attracting people searching for organisation ideas, printable worksheets, and productivity inspiration.
Create vertical pins showing your planner pages and link them directly to your product listing.
Instagram Marketing
Share short videos, reels, and carousel posts showing how your planner works.
For example, you could create a video demonstrating how someone can use a weekly planner to organise tasks for the entire week.
YouTube Shorts
Create short tutorials about productivity, budgeting, study planning, or daily routines. Show your printable planner as a practical resource within the content.
Blog Content
If you have a website, publish helpful articles related to your products.
For example:
- How to Plan Your Week Without Feeling Overwhelmed
- Simple Budgeting Tips for Beginners
- How to Build a Daily Routine That Works
- Best Ways to Organise Your Study Schedule
You can naturally link relevant printable planners within these articles.
Email Marketing
Offer a free sample planner in exchange for an email subscription, with the visitor’s consent. You can then share useful planning tips, new product launches, and special offers with your subscribers.
Step 10: Protect Your Digital Products
When selling digital products, you should pay attention to ownership and licensing.
Use fonts, illustrations, icons, and graphics that you are allowed to use in commercial products. Read the licensing terms of your design tools and asset providers.
Avoid copying another seller’s planner design or using copyrighted characters, logos, and artwork without permission.
You should also include a clear usage policy explaining whether customers can print the planner for personal use and whether redistribution or resale is prohibited.
Consider adding your brand name to the product previews and including a simple copyright notice in your files. These steps do not prevent all copying, but they help communicate your ownership and terms.
Common Mistakes to Avoid When Selling Printable Planners
If you want to build a reliable digital product store, avoid these common mistakes:
1. Creating Products Without Research: Do not spend hours designing something without checking whether people are interested in it.
2. Making Designs Too Complicated: Too many colours, graphics, and decorative elements can make a planner difficult to use and print.
3. Ignoring Product Previews: Customers need to see what they are purchasing. Use clear images that represent the actual files.
4. Using Generic Product Titles: Include relevant keywords and describe the purpose of the planner.
5. Forgetting Printing Requirements: Incorrect page sizes, small text, and poor margins can create a frustrating experience for buyers.
6. Expecting Instant Sales: A new store may take time to attract visitors and build trust. Keep improving your products and marketing.
7. Ignoring Customer Feedback: Reviews and customer questions can reveal what needs to be improved in your next product.
A Simple 7-Day Plan to Launch Your First Printable Planner
If you are unsure where to begin, follow this simple schedule.
| Day | Task |
|---|---|
| Day 1 | Research planner niches and choose your target audience. |
| Day 2 | Study competing products and plan your pages. |
| Day 3 | Create your first planner design. |
| Day 4 | Check layouts, export PDF files, and test printing. |
| Day 5 | Prepare product images and write your description. |
| Day 6 | Set up your selling platform and publish the listing. |
| Day 7 | Create Pinterest pins and social media posts to promote it. |
You can use this schedule as a starting point. More detailed products may require additional time for design, testing, and research.
Final Thoughts
Selling printable planners online can be a useful way to turn your design skills and creative ideas into digital products. You can start with a simple budget tracker, weekly planner, or habit tracker and gradually expand your collection based on customer needs.
The key is to create products that solve real problems, make them easy to use, and promote them consistently.
Do not focus on creating dozens of planners immediately. Start with one well-designed product, understand your audience, collect feedback, and improve your store over time.
With patience, research, and consistent effort, selling printable planners can become a small online business worth developing.
Frequently Asked Questions (FAQs)
1. Can beginners make money selling printable planners?
Yes. Beginners can create printable planners using tools such as Canva, Google Sheets, or Microsoft Excel. However, earning money depends on product quality, customer demand, pricing, and marketing.
2. Do I need a website to sell printable planners?
No. You can start with a digital product marketplace or a platform that provides an online storefront. A website is optional, although it can give you more control over your brand and customer experience.
3. What is the best tool for creating printable planners?
Canva is a good starting option for beginners. Adobe Illustrator is useful for more customised designs, while Google Sheets and Excel are suitable for planners involving calculations.
4. Which printable planners sell well?
Popular categories to research include budget planners, daily schedules, student planners, fitness trackers, meal planners, and business organisers. Demand changes over time, so research your target marketplace before creating products.
5. Can I sell the same printable planner more than once?
Yes. You can sell the same digital product to multiple customers, provided you own the design or have the necessary commercial rights to sell all included assets.
6. Do I need to ship printable planners to customers?
No. Printable planners are digital products. Customers download the files after purchasing and print them themselves if they want a physical copy.
7. How much can I earn by selling printable planners?
There is no fixed income. Earnings depend on the number of sales, product prices, marketplace fees, marketing, and customer demand. A new store may take time to generate consistent sales.